BORROWED TIME: CORE RULES & FIELD MANUAL
The complete, unabridged ruleset for Borrowed Time. Covers action points, streamlined horde attacks, noise mechanics, tactical handoffs, scavenging decks, and solo AI protocols.
Combat & Opposed Dice Pool Calculator
Select attack type, weapon, and situational modifiers. Automatically calculates dice pools, checks cover, tracks complications (1s rolled adding +Heat), and resolves opposed melee or ranged damage.
Automated Director AI Assistant & Heat Spender
Run solo or cooperative games without requiring a human GM. Track tactical noise, resolve Heat escalation rolls, and output deterministic horde purchases and priority orders according to the official AI hierarchy.
Click "Resolve Director Phase" when all survivors have finished their turn to execute AI horde orders.
Search & Salvage Deck Simulator
Roll Wits (W) to search room stashes and vehicle wrecks. Standard successes draw from the 36-card Core Scavenge Deck, while natural 6s trigger critical Jackpots from location-specific Specialty Decks!
Quick-Play Impromptu Scenario Generator
Generate complete, high-tension pickup scenarios in 5 seconds using the official dice-table algorithms. Perfect for casual game nights, demo games, and club pickup sessions.
Click the button above to generate a unique mission objective, terrain environment, starting infected density, and hazard twist.
Feeding Frenzy & Swarm Disruption Resolver
When a Downed survivor begins the Director Phase engaged by zombies, resolve their survival check. Disruption hits scored by allies during the preceding turn reduce lethality by -1 per hit, all the way to zero!
0.0 Prelude & Philosophy
This is your apocalypse. The rules that follow provide a tight tactical framework for cinematic action and survival horror. However, the most paramount rule is to tell an unforgettable story. If you and your group agree that a creative tactical gambit would be cooler, more dramatic, or more exciting than a rigid rule down below—don't let the rulebook get in the way of a good story. Improvise, adapt, and have fun.
Borrowed Time: The Official Rulebook • Created by Chris Barath • Version 0.2 Playtest • Online Rules Edition.
Welcome to the Apocalypse!
1.0 Game Overview
Borrowed Time is a 28mm miniature wargame of cinematic zombie survival. Designed for 2 to 8 players (with a sweet spot of 4 to 6), the game pits a desperate band of Survivors against a relentless, encroaching horde controlled either by a human Director or the automated Director AI.
Working together, you must scavenge critical supplies, manage tactical noise, coordinate desperate handoffs, and outlast the infected world. Because in this ruined city, all you have is borrowed time.
| Game Dimension | Specification | Tactical Context |
|---|---|---|
| Player Count | 2–8 Players (Sweet Spot: 4–6) | Playable Co-Op with Solo AI, or with 1 dedicated human Director. |
| Average Duration | 75–90 Minutes (Scenarios: 2–4 Hours) | Scales by objective density and chosen scenario parameters. |
| Setting & Theme | Modern Urban Apocalypse | High friction, cinematic horror, stealth vs loud firepower dilemmas. |
| Survivor Objective | Scenario Completion | Achieve mission goals (extract, find supplies, rescue) before the Doom clock expires. |
| Director Objective | Total Attrition | Eliminate more than half the starting Survivors or stall them until Doom expires. |
2.0 Components
To run a session of Borrowed Time, players will need the following physical tabletop components:
Playing Surface & Terrain
A table surface (minimum 4' × 4', though 4' × 6' provides excellent maneuvering space) covered with 28mm-scale terrain: modular buildings, barbed wire, abandoned vehicles, barricades, and scattered street cover. Cover and line-of-sight are critical to survival.
Miniatures
- Survivor Miniatures: Distinct character figures representing each active player archetype.
- Zombie Miniatures: Shamblers (individual single figures on 25mm round bases) and Hordes (multiple figures grouped on movement trays).
- Special Infected Miniatures: Unique mutated threats including the Screamer, Brute, Hunter, and Bloater.
Dice
A generous handful of standard six-sided dice (D6). The arbiters of your short-term fate.
Card Decks & Compendiums
- Survivor Compendium & Cards: Detailed profiles, starting loadouts, and unique skills for all playable archetypes.
- Salvage Deck: Cards representing weapons, ammunition, medkits, tools, and unexpected hazards uncovered during searches.
- Secret Agenda Deck (Optional): Hidden personal objectives that introduce psychological friction and competing loyalties.
- Scenario Compendium: Mission blueprints detailing map layouts, spawn points, extraction zones, and win conditions.
Tracks
- Doom Tracker (Threat Track): Tracks game rounds, escalating scenario timers, and horde convergence (typically 8–15 spaces).
- Heat Track: Measures tactical noise and environmental chaos generated by Survivor gunshots, explosions, and complications (0–15 spaces).
Tokens & Markers
Heat Marker: Placed on the Heat Track to measure sound and gunfire chaos.
Doom Marker: Tracks advancing game rounds and horde convergence.
Status Effect Markers: Tokens representing Burning, Stunned, Aiming, and Reloads.
Downed Markers: Alternative to tipping a miniature over when a Survivor reaches 0 Wounds.
Objective & Search Tokens: Designates unsearched caches, supply crates, gas cans, and mission goals.
3.0 Game Setup
Follow these five sequential steps to set up the tabletop before starting Round 1:
-
Choose a Scenario: Select a scenario from the Scenario Anthology or agree upon custom parameters. This defines:
- Playing surface dimensions and specific terrain placement.
- Starting positions for Survivors and initial patrolling zombies.
- Primary and secondary extraction objectives.
- Environmental rules (e.g. darkness, rain) and Salvage Deck composition.
- Prepare the Tabletop: Lay out the terrain according to the map diagram, ensuring a balanced mix of open killzones, defensible alleys, and interior rooms.
- Assign Roles: One player assumes the mantle of The Director (or designate the table for Solo / Co-Op AI mode). All other players control Survivors.
- Survivor Selection & Loadout: Each Survivor player selects an Archetype dossier card, notes their 6 core stats, grabs their assigned starting weapon and item cards, and takes their starting Reload tokens.
-
Deploy Units & Place Markers:
- Place Survivor models in their designated deployment zone.
- Place initial zombie models at specified patrol and spawn locations.
- Place Objective and Search tokens on the map as directed by the scenario.
- Set the Heat Track to 0.
- Set the Doom Tracker to Space 1.
- Shuffle the Salvage Deck and place it within easy reach of the table.
4.0 Game Turn Structure
Borrowed Time is played across a sequence of tense game rounds. Each round progresses through three distinct tactical phases in strict order:
Survivors coordinate and execute their activations one character at a time. The team chooses the order of activation dynamically.
Each active Survivor spends their Action Points (AP) to move, shoot, scavenge, revive allies, and complete objectives.
The infected world reacts. The Director collects baseline Ambient Heat, resolves an Escalation check, spends accumulated Heat, and activates the undead horde.
The turn concludes. The Doom Tracker advances by +1, scenario events trigger, victory checks are made, and Heat resets to zero.
5.0 Survivor Phase
During the Survivor Phase, every active Survivor character takes their activation. The Survivor team chooses the order in which characters activate. Once a Survivor starts their turn, they must spend all their available Action Points before the next Survivor begins.
Standard Survivors possess 3 Action Points (AP) per activation. Action Points may be spent on any combination of the following tactical maneuvers:
| Action | AP Cost | Description & Key Rules |
|---|---|---|
| Move | 1 AP | Advance up to your Move (M) stat in inches. Difficult terrain costs double (2" of M per 1" moved). |
| Disengage | 1 AP | Break from melee and move up to half Move stat. Engaged zombies make Parting Swipes (5–6 deals 1 Wound). |
| Attack | 1 AP | Make one Fight (melee) or Shoot (ranged) attack roll. Gunfire adds Heat to the track. |
| Aim | 1 AP | Steady your weapon. Grants +1 die on your next Shoot attack this turn and ignores Light Cover. |
| Search | 1 AP | Roll Wits test in contact with a Search Token. Maximum 1 Search per turn. Inventory capped at 3 items. |
| Interact / Triage | 1 AP | Manipulate doors, flip switches, refuel generators, drag a downed ally, or perform medical revive. |
| Hunker Down | 1 AP | In contact with cover, impose an extra -1 to hit penalty on all incoming ranged attacks until next turn. |
| Reload | 1 AP | Expend 1 Reload token to refresh firearm ammunition to maximum. Fired brass cannot be reloaded mid-battle. |
| Quick Hand-Off | 0 AP (Free) | Once per turn in base contact, pass or take strictly 1 item or scenario objective for free. |
| Full Gear Exchange | 1 AP | In base contact, freely swap, transfer, and reorganize any number of items between both inventories. |
Movement & Maneuvering
Moving across open ground costs 1" of Move stat per 1" traveled. Difficult terrain (rubble, barricades, steep stairs, deep mud) costs 2 inches of movement per inch traveled.
If a Survivor enters base contact with a zombie, they are Engaged and locked in close-quarters combat. An engaged Survivor cannot take normal Move actions.
To escape, spend 1 AP to Disengage. You immediately retreat up to half your Move value. However, each engaged zombie (up to a maximum of 3) immediately makes a Parting Swipe:
- Roll 1D6 per engaged zombie.
- Each result of 5 or 6 inflicts 1 immediate Wound on the fleeing Survivor!
- If the Survivor survives, they successfully reach their destination and are freed from engagement.
Attacking (Melee & Ranged)
Spend 1 AP to strike with an equipped melee weapon (Fight) or fire an equipped firearm (Shoot). See Section 7.0 Combat Rules for complete resolution mechanics.
Searching for Supplies
When standing in base contact with a Search Token or designated cache, spend 1 AP to search.
- Search Frequency Limit: A Survivor may perform a maximum of 1 Search action per turn.
- Inventory Capacity: A Survivor can carry a maximum of 3 item cards in addition to starting weapons (4 items if carrying a Backpack). If full, you must drop an item in base contact to claim a new one.
| Wits Test Roll | Outcome | Scavenge Result |
|---|---|---|
| Failure (No 4, 5, or 6 rolled) |
Empty Hands | You find nothing of use. The Search Token remains on the board. Any natural 1s rolled still generate +1 Heat! |
| Standard Success (At least one 4 or 5, but NO 6s) |
Useful Supplies | Remove the Search Token from the table and draw 1 card from the Core Scavenge Deck. |
| Critical Success (At least one natural 6!) |
Jackpot! | Remove the Search Token and draw from the location's Thematic Specialty Deck (Armory, Clinic, Garage). If none exists, draw 2 Core Scavenge cards and keep 1. |
| Complications (Any natural 1 rolled) |
Noise & Clatter | Each natural 1 rolled immediately adds +1 Heat to the track (dropped cans, creaking floorboards, shattering glass). |
Interacting with the Environment & Triage
Spend 1 AP to interact with table elements: open/close heavy blast doors, erect barricades, pick up dropped mission gear, or refuel vehicles.
In base contact with a Downed companion, perform emergency triage. Requires either a Medical Skill (Doctor, Medic) OR a Medical Item (Bandages, First Aid Kit, Medkit).
Roll a Wits test (4+). On success, the ally stands back up with 1 Wound (2 Wounds if a Medkit is expended). An untrained Survivor with no medical supplies cannot revive, but may spend 1 AP to Drag the downed ally up to half their Move speed into cover.
Hand-Off & Gear Trading
Survivors can freely relay ammunition and mission items across the battlefield:
- Quick Hand-Off (0 AP / Free Action): Once per turn, an active Survivor in base contact with an ally may pass 1 item or take 1 item from that willing ally for free. Each Survivor has their own free hand-off per turn, enabling cinematic item relays!
- Full Gear Exchange (1 AP): Spend 1 AP in base contact to conduct a comprehensive trade, reorganizing backpacks and swapping any number of weapons and gear.
Reloading & Ammunition Scarcity
When a firearm fires its maximum ammunition, it is empty. Spend 1 AP to Reload, discarding one Reload token from your character card to restore its ammo pool.
No Spent Brass Scrounging: Expended brass casings are lost in the chaos of battle. Survivors cannot repack spent shells during a firefight; fresh rounds must be scavenged from supply caches.
6.0 Director Phase
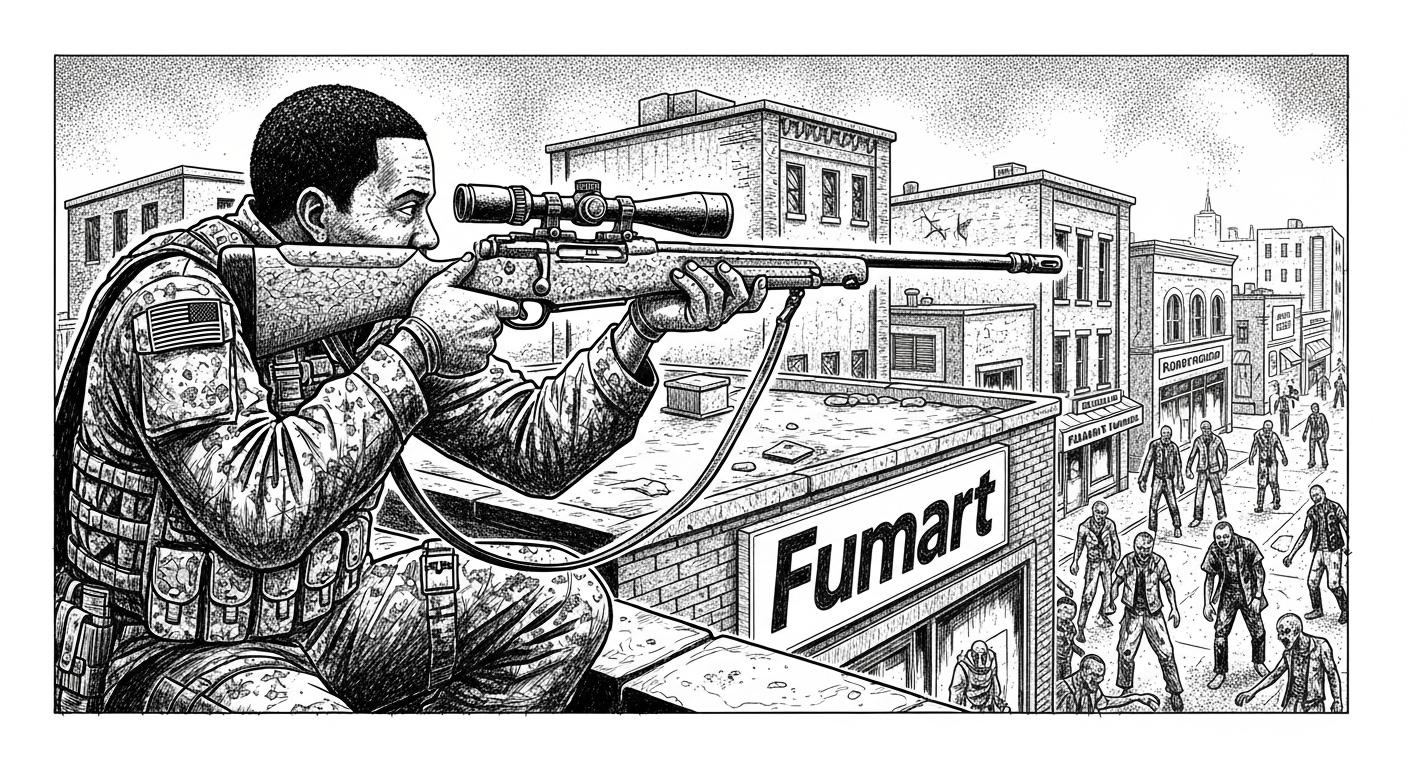
After all Survivors have taken their activations, the Director Phase begins. This phase is resolved in five orderly steps:
Step 1: Ambient Pressure (Lurker Inflow)
At the start of the Director Phase, add the scenario-specified Ambient Heat (typically +2 to +3 Heat) to the Heat Track. The surrounding city never sleeps, ensuring relentless pressure even if Survivors spent their turns in total silence.
Step 2: Heat Escalation Check
Check the accumulated Heat on the track before spending. If Survivors made substantial noise, roll 1D6 to determine if the horde accelerates the scenario clock:
| Current Heat Value | D6 Escalation Roll | Escalation Outcome |
|---|---|---|
| 0 – 7 Heat | — | Safe: No Doom acceleration occurs. |
| 8 – 9 Heat | 5+ Required | Escalation: Advance Doom Tracker by +1 immediately. |
| 10 – 11 Heat | 4+ Required | Escalation: Advance Doom Tracker by +1 immediately. |
| 12 – 14 Heat | 3+ Required | Escalation: Advance Doom Tracker by +1 immediately. |
| 15 Heat (Maximum) | Automatic | Catastrophic Clatter: Advance Doom Tracker by +1 automatically! |
Step 3: Spending Heat
The Director now spends all accumulated Heat points on actions from the tactical menu below. All points must be spent; unspent Heat is discarded when the phase ends.
| Heat Cost | Director Action | Tactical Effect |
|---|---|---|
| 1 Heat | Sudden Lunge | Choose one Shambler. Move it up to 3" towards the nearest visible Survivor. |
| 2 Heat | Spawn Shambler | Place one Shambler miniature at any designated Spawn Point on the board. |
| 3 Heat | Reanimate | Take a Shambler removed this round and place it back on the board at a spawn point. |
| 4 Heat | Spawn Special Infected | Place one Special Infected (Screamer, Bloater, Hunter) at an active Spawn Point. |
| 5 Heat | Spawn Horde / Brute | Place a 3-zombie Horde tray or a monstrous Brute at a major spawn entryway. |
| Variable | Environmental Event | Trigger a scenario-specific hazard (structural collapse, blackout, security alarm). |
Step 4: Activating Undead & Solo AI Protocols
Once Heat is spent, all zombies on the board activate according to their instinctual behavioral hierarchy:
- Engaged Zombies: Attack their engaged target in melee. (If multiple zombies are engaged, resolve as a combined Swarm Attack; see Section 7.0).
- Unengaged Zombies with Line of Sight: Move their full Move value directly toward the nearest visible Survivor.
- Unengaged Zombies without Line of Sight: Move toward the loudest noise source, an active objective marker, or follow designated scenario patrol routes.
Step 5: Heat Track Reset
Once all activations conclude, reset the Heat Track to 0. Heat cannot be hoarded between rounds.
7.0 Combat Rules
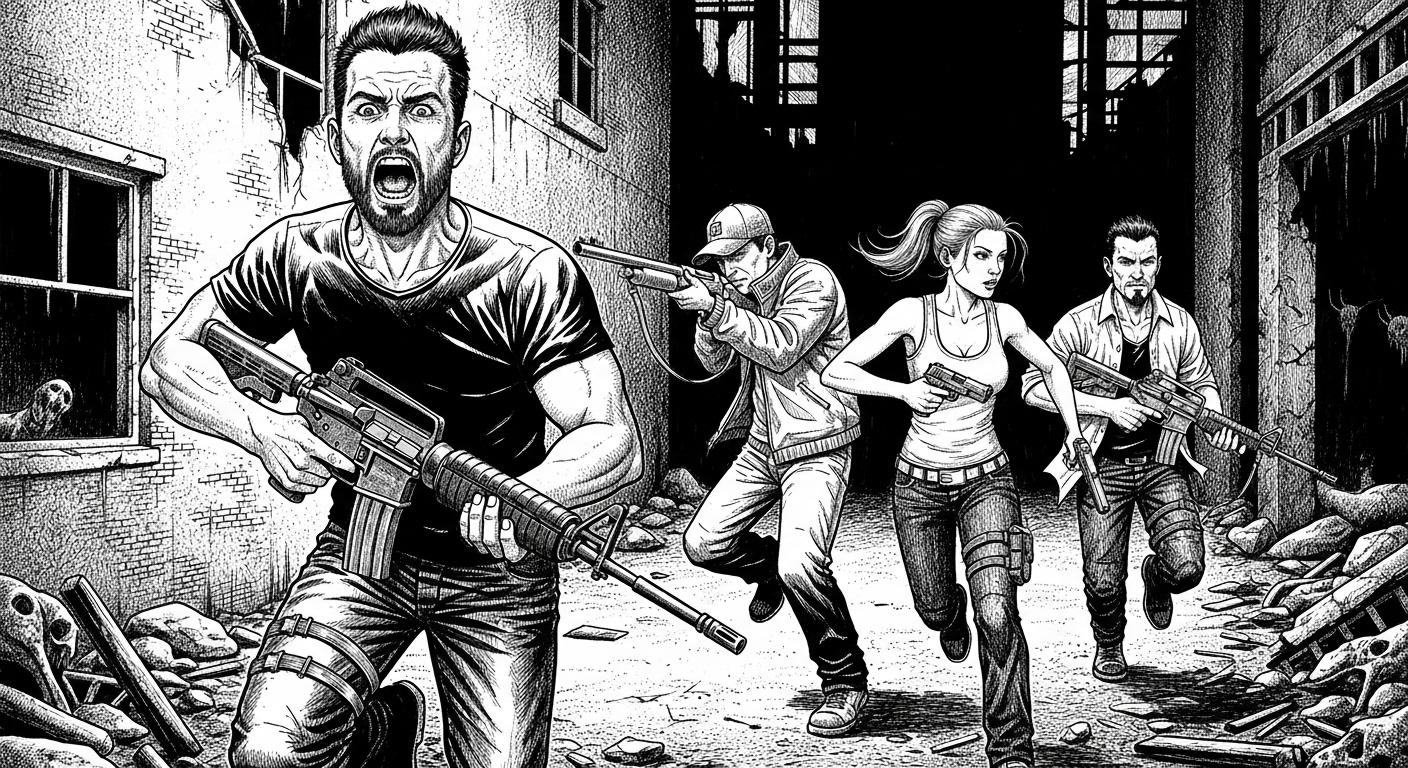
Combat in Borrowed Time is resolved using pools of six-sided dice (D6). In ranged combat, the attacker rolls against static target thresholds. In melee combat, attacker and defender roll simultaneous opposed pools.
Regardless of penalties or wound attrition, a model making an attack roll, search test, or survival check always rolls at least 1 die. You are never reduced to zero dice.
Cover & Line of Sight
Physical cover is the difference between extraction and infection. Cover provides substantial defensive protection against ranged and melee attacks:
| Cover Type | Target Modifier | Examples & Battlefield Application |
|---|---|---|
| Open Ground | None | Direct line-of-sight across open pavement, wide hallways, or rooftops. |
| Light Cover | -1 to Hit | Wooden fences, overturned tables, waist-high sandbags, dense bushes. |
| Heavy Cover | -2 to Hit | Concrete barricades, brick building corners, engine blocks of vehicles. |
| Melee Cover (Defensible Position) |
Attacker at -1 Die | Defending behind a doorway, window frame, or elevated barricade against close assault. |
Melee Combat Resolution
Melee occurs when models are in base contact. Both combatants roll simultaneous dice pools:
- The attacker rolls dice equal to their Fight (F) stat plus weapon bonuses.
- The defender rolls dice equal to their own Fight (F) stat plus weapon bonuses.
- Each die rolling 4, 5, or 6 is a Success. Compare the total successes scored by each combatant.
- Attacker has more successes: The defender takes Wounds equal to the margin of victory (attacker successes minus defender successes).
- Defender has more successes: The defender fends off the blow and inflicts Wounds equal to the margin on the attacker!
- Tie: Weapons lock and blades clash. Neither combatant takes damage.
The Withdrawal: If the active attacker scores equal or higher successes than the defender, they may choose to voluntarily step back 1" to break engagement without penalty.
The Streamlined Swarm Attack
To keep games fast and decisive, zombies attacking the same Survivor roll together in a single consolidated pool:
- Maximum Engagement (No Clown Cars Rule): A maximum of 3 zombie figures can engage a single standard Survivor model at one time. Any additional zombies must seek other targets.
- Swarm Dice Pool: Combine the Fight dice of all engaged zombies into one grand pool (e.g. 3 Shamblers with F:2 roll 6 dice total) against the Survivor's single defensive Fight pool.
| Attacker Tier | Examples | Attack Dice Pool | Maximum Damage Cap |
|---|---|---|---|
| Single Shambler | 1 Standard Zombie | 2 Dice | Capped at 1 Wound |
| Pair of Shamblers | 2 Zombies in base contact | 4 Dice | Capped at 2 Wounds |
| Full Swarm | 3 Shamblers in base contact | 6 Dice | Capped at 3 Wounds |
| Mutated Elite | Brute / Horde Tray | 4–8 Dice | Capped at 3 Wounds |
Ranged Combat & Firearms
When firing a ranged weapon, check range and line-of-sight to the target:
- Roll a number of D6 equal to the weapon's Dice value plus the Survivor's Shoot (S) modifier.
- Target number is 4+ (modified by Light or Heavy Cover).
- Each successful hit inflicts 1 Wound on the target.
- Complications: Every natural 1 rolled adds +1 Heat to the track, in addition to the weapon's baseline Heat generation.
Damage, Downed State & Emergency Field Triage
When a Survivor takes damage, mark Wounds off on their character card. When a character reaches 0 Wounds, they are Downed.
- Lay the miniature on its side or place a Downed Marker next to its base.
- Any carried mission objectives (Gas Can, Keycard) drop immediately in that zone.
- A Downed character cannot activate, move, or make attacks.
When a Survivor is Downed, attacking zombies do not get a second free attack in that same phase. The Survivor team has the entire subsequent Survivor Phase to react: shoot the zombies off their friend, charge in to draw aggro, or drag them away before the horde feeds!
Bleed Out: At the start of their activation, a Downed Survivor makes a Guts save (4+). If failed, they bleed out and are permanently eliminated.
8.0 End Phase & Doom Tracker
At the end of each round, resolve the End Phase in five sequential steps:
- Advance Doom Tracker: Move the Doom marker forward by +1 space. If it reaches the final space, immediately trigger the scenario's Doom Finale.
- Resolve Doom Events: If the marker lands on an Event space, draw and resolve the designated scenario event.
- Verify Heat Reset: Ensure the Heat Track has been returned to zero.
- Check Victory Conditions: Determine if either the Survivors or Director have achieved complete victory.
- Begin Next Round: If no conclusion has been reached, start the next round with Phase 1: Survivor Phase.
9.0 Anatomy of a Survivor
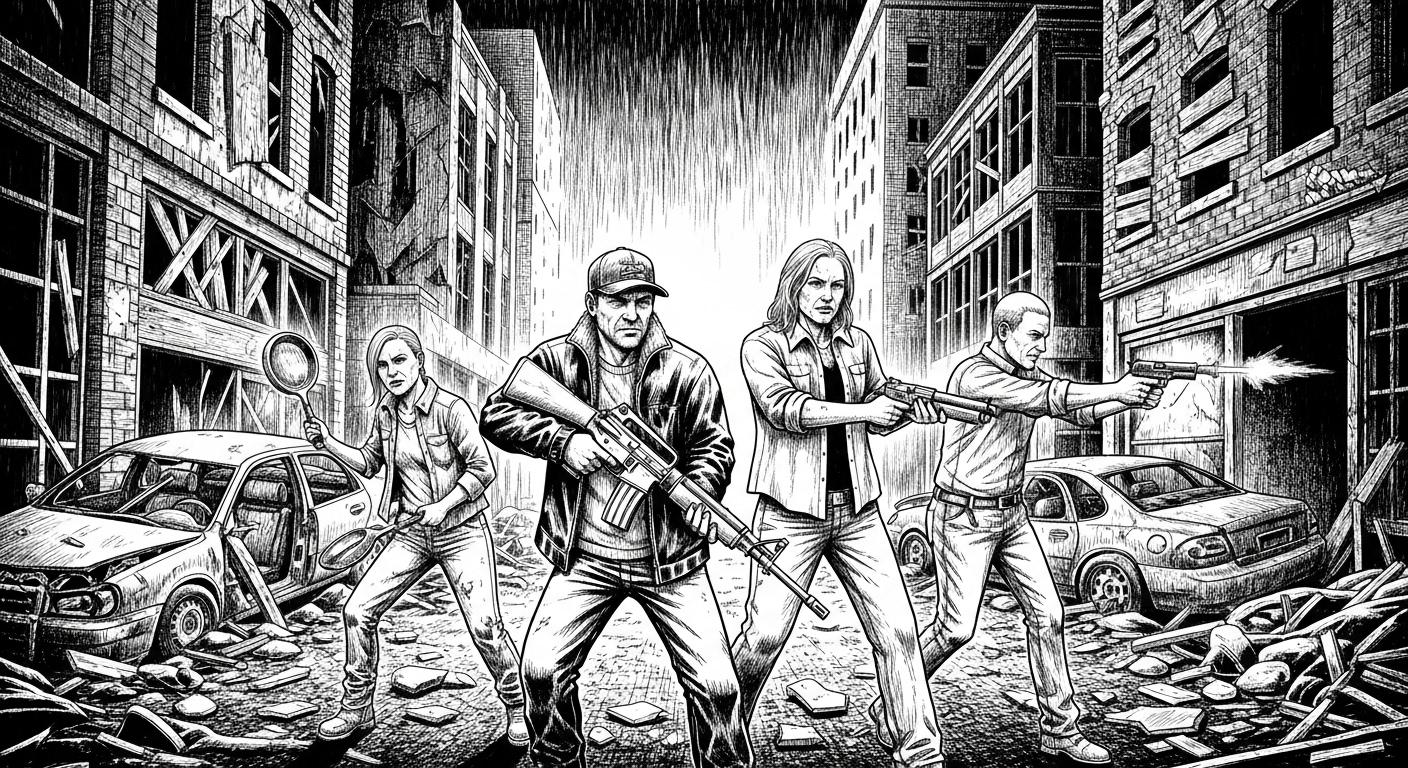
Every Survivor character card displays six mechanical attributes that govern their performance on the board:
Distance traveled in inches for 1 Action Point. Governs repositioning speed and extraction dashes.
Close-quarters melee prowess. Used to swing axes, defend against lunges, and counter-attack swarms.
Firearm handling and accuracy. Modifies weapon dice pools when taking ranged shots.
Mental sharpness, technical skill, and perception. Rolled during Search actions and emergency triage.
Willpower and panic resistance. Rolled to avoid Bleed Out, resist horror checks, and brave fire.
Physical vitality. Reaching 0 Wounds causes the Survivor to collapse into the Downed state.
10.0 Zombie Types & Behaviors
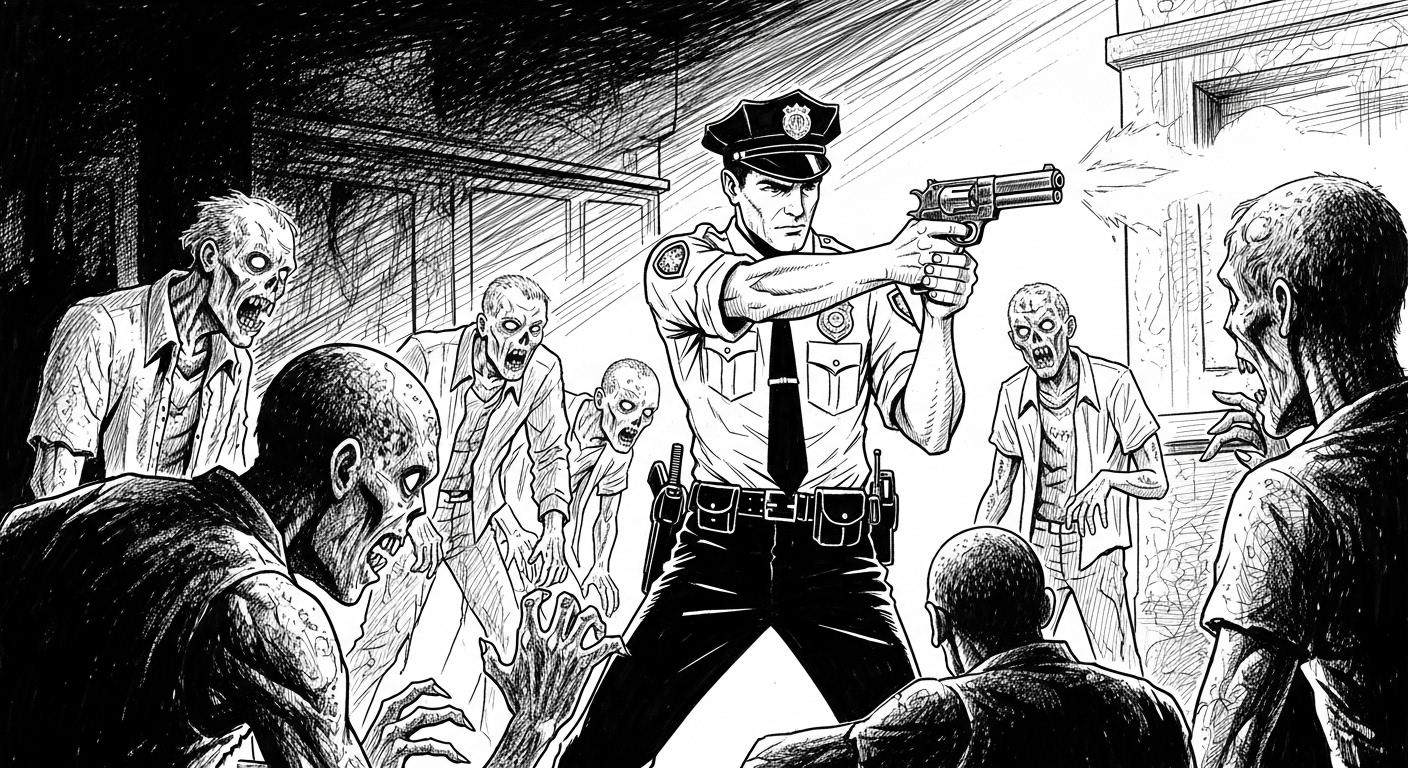
The infected threat consists of several distinct strains of undead, each presenting unique tactical dilemmas:
Shamblers
Behavior: Moves 4" toward the nearest visible Survivor. Relentless and numerous. Dangerous when clustering into multi-figure swarms.
The Horde (Movement Tray)
Behavior: A compact mass of infected acting as a single unit. Treats difficult terrain as normal ground. As it takes Wounds, its Fight dice pool degrades.
Special Infected
Special Rule • Shriek of Terror: When activated, emits an ear-piercing scream that immediately adds +3 Heat to the track and calls all zombies within 12" toward its position.
Special Rule • Unstoppable Bulk: Smashes through doors and light barricades without stopping. Immune to knockback and stun effects.
Special Rule • Ambush Leap: If starting its turn in cover and unseen, moves an extra 3" and immediately makes a free melee attack upon entering base contact.
Special Rule • Explosive Demise: Upon losing its final Wound, it explodes in a 3" radius. All models within 3" must pass a Guts test (4+) or take 2 Wounds. Generates +3 Heat.
11.0 Heat Track Management
The Heat Track represents escalating sound, commotion, and chaos in the infected zone. It serves as the Director's spending currency and directly drives horde escalation.
| Action / Weapon Fired | Base Heat Generated | Tactical Sound Signature |
|---|---|---|
| Suppressed Pistol / Silenced Shot | +0 Heat | Whisper-quiet. Allows silent takedowns without alerting the wider sector. |
| Standard Pistol / Hunting Rifle / Shotgun | +2 Heat | Loud gunshot. Reverberates down streets and alerts patrolling packs. |
| Submachine Gun (Full-Auto Burst) | +3 Heat | Extremely loud automatic chatter. Draws immediate horde attention. |
| Quiet Melee (Knife, Scalpel, Machete) | +0 Heat | Stealth kill. No noise generated. |
| Noisy Melee (Baseball Bat, Crowbar, Axe) | +1 Heat | Heavy blunt impact, splintering wood, or metallic clatter. |
| Explosives (Frag Grenade, Pipe Bomb) | +4 Heat | Deafening blast. Shatters windows and rings across the entire district. |
| Molotov Cocktail / Spreading Fire | +3 Heat | Glass shattering, roar of flames, and screeching infected. |
| Complication (Natural '1' rolled on any test) | +1 Heat | Kicked bucket, dropped magazine, or squeaking rusty hinge. |
The Heat Track has a hard ceiling of 15 Heat. Any additional noise generated beyond 15 is lost, but reaching 15 guarantees an automatic +1 advance on the Doom Tracker during the Director Phase!
12.0 Victory & Loss Conditions
The game concludes immediately when either of the following conditions is fulfilled:
Primary Objective Completed: The Survivors complete the scenario's primary mission goal (e.g., retrieving the vaccine, restoring communications, fueling the escape vehicle).
Extraction Reached: The required quota of living Survivors reaches the designated extraction zone and escapes the map alive.
Doom Tracker Final Space: The Doom Tracker reaches its final space, and any scenario-specific Doom Finale cannot be resolved in time.
Heavy Casualties: More than half of the starting Survivor team is eliminated (either bled out while Downed or killed outright).
Turn Limit Exceeded: The Survivors fail to achieve their extraction objective by the round where the Doom clock concludes.