Morale & Leaders
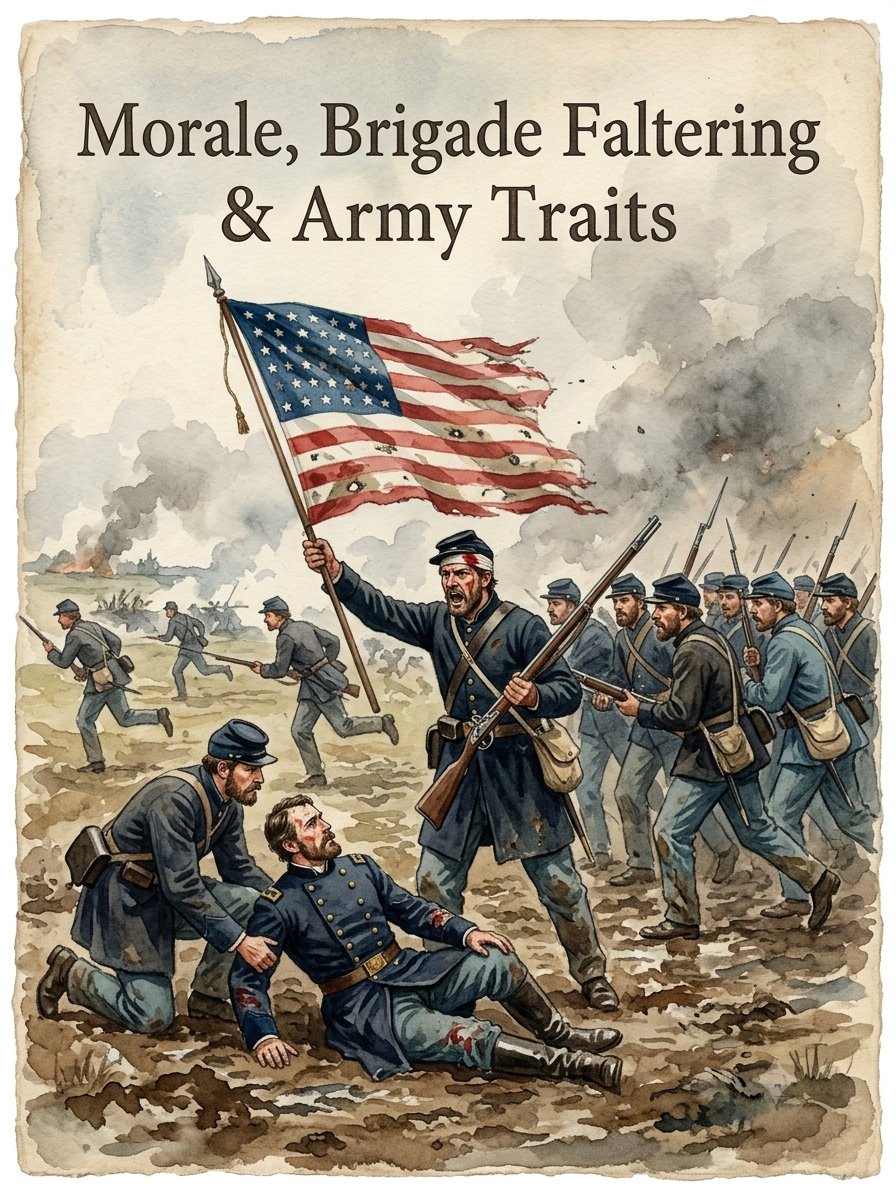
07. MORALE, BRIGADE FALTERING, LEADERS & ARMY TRAITS
"It is well that war is so terrible, or we should grow too fond of it." — General Robert E. Lee, 1862
"I have never seen a man who was not afraid in battle." — Private Elisha Hunt Rhodes, 1862
1.0 Regimental Health & Morale States
- [RULE-07-1.1] Dynamic Degradation: Rather than using separate bookkeeping rosters or arbitrary hit-point pools, a regiment's combat effectiveness, shock resilience, and tactical discipline are governed directly by its Remaining Stand Percentage.
- [RULE-07-1.2] Regimental Health Profiles: Every regiment occupies one of three distinct health states based on its current stand count relative to its starting strength:
| Health State | Threshold | Melee/Shock Modifier | Tactical Capabilities | Resilience/Notes |
|---|---|---|---|---|
| 1. FRESH STATE | >75% of Starting Stands Remaining | +1 | Full operational speed; may Charge/Assault | High stamina; unaffected by light losses |
| 2. WORN STATE | 35% to 75% of Starting Stands Remaining | +0 | Standard movement and firing capabilities | Combat fatigue sets in; ranks thinning |
| 3. SPENT STATE | <35% of Starting Stands Remaining / 2 Stands Left | -1 | Cannot declare Assaults unless led by GM | Must make 1D6 Discipline Check if fired on |
| 4. SHATTERED | 1 Stand Remaining | N/A | Instantly collapses; removed from play | Final stand loss counts to Faltering Clock |
| Starting Unit Size | Fresh State (+1 Melee) | Worn State (+0 Melee) | Spent State (-1 Melee) | Shattered (Removed) |
|---|---|---|---|---|
| 8 Stands (Large) | 8 to 7 Stands | 6 to 3 Stands | 2 Stands | 1 Stand Remaining |
| 6 Stands (Standard) | 6 to 5 Stands | 4 to 3 Stands | 2 Stands | 1 Stand Remaining |
| 5 Stands (Standard) | 5 to 4 Stands | 3 Stands | 2 Stands | 1 Stand Remaining |
| 4 Stands (Small) | 4 Stands | 3 Stands | 2 Stands | 1 Stand Remaining |
| 3 Stands (Depleted) | 3 Stands | — | 2 Stands | 1 Stand Remaining |
Whenever a unit is subjected to a morale crisis (e.g., suffering casualties from a closing volley , executing passage of lines , or taking fire while in a Spent state), it must roll a Discipline Check on 1D6:
- Veteran / Elite Quality: Passes on 3+ (Roll of 3, 4, 5, or 6).
- Regular Quality: Passes on 4+ (Roll of 4, 5, or 6).
- Green / Conscript Quality: Passes on 5+ (Roll of 5 or 6).
- [RULE-07-1.5] Consequences of Failed Discipline Checks:
- If the unit was charging, the assault stalls 2.0" away and the unit receives a Disorder Marker .
- If the unit was stationary or in a firefight, it immediately falls back 3.0 inches directly away from the enemy and receives a Disorder Marker. If already Disordered, it falls back 3.0 inches and takes 1 Micro-Hit per the Double Disorder rule.
2.0 The Brigade Faltering Clock (The Brigade Morale Engine)
| Status | Threshold | Effects |
|---|---|---|
| Fresh Brigade | 0–29% Stands Lost | Full Operations, Full Staff Pip Menu, Standard Shooting |
| Hesitant Brigade | 30–49% Stands Lost | Cannot Charge/Assault, Cannot Double-Time, -1 to All Shooting, -1 to Discipline Checks |
| Broken Brigade | 50%+ Stands Lost | Complete Collapse, Mandatory Retreat to Edge, Victory Points Awarded |
- [RULE-07-2.1] The Brigade Collapse Doctrine: In the American Civil War, entire brigades rarely fought until every single regiment was wiped out. Instead, cumulative casualties, loss of field officers, and ammunition depletion triggered a collective moral exhaustion. This is governed by the Brigade Faltering Clock.
- [RULE-07-2.2] Tracking Brigade Casualties:
- Every brigade has a baseline Total Stand Count calculated during scenario setup (the sum of all infantry stands across all constituent regiments).
- Whenever a physical stand is removed from any regiment in the brigade due to shooting or melee, advance the casualty tally die placed on the Brigadier’s base by +1.
- [RULE-07-2.3] Threshold 1: The Hesitant State (~ 30% Total Stand Losses):
- When cumulative stand losses reach or exceed 30% of the brigade's starting strength, the brigade immediately becomes Hesitant. Place a Hesitant Marker on the Brigadier General’s base.
-
Tactical Penalties for Hesitant Brigades:
-
Assault Prohibition: Regiments in the brigade cannot declare Assaults/Charges .
-
Speed Restriction: Units cannot use the Double-Time order .
- Degraded Firepower: All regiments and attached batteries suffer a -1 to-hit penalty on all Phase 3 shooting rolls.
-
Shaken Morale: All subordinate units suffer a -1 penalty to all Discipline Checks.
-
[RULE-07-2.4] Threshold 2: The Broken / Whipped State (~ 50% Total Stand Losses):
- When cumulative stand losses reach or exceed 50% of the brigade's starting strength, the brigade is officially Whipped / Broken.
- Immediate Collapse Protocol:
- The brigade immediately forfeits all remaining Staff Pips.
- All subordinate regiments and batteries receive a Disorder Marker.
- Every unit in the brigade must spend its entire movement phase on all subsequent turns executing full retrograde moves (6.0" per turn) toward the friendly table edge.
- Broken units cannot shoot, cannot rally, and cannot initiate melee. If charged by an active enemy unit, a Broken regiment automatically Routs and is removed from the table.
Master Brigade Morale Threshold Table
| Brigade Total Starting Stands | Typical Composition | Hesitant Threshold (30% Losses) | Broken Threshold (50% Losses) |
|---|---|---|---|
| 16 Stands | 4 Small Regiments (4 stands each) | 5 Stands Lost | 8 Stands Lost |
| 20 Stands | 4 Standard Regiments (5 stands each) | 6 Stands Lost | 10 Stands Lost |
| 24 Stands | 4 Large or 5 Standard Regiments | 7 Stands Lost | 12 Stands Lost |
| 28 Stands | 5 Large Regiments | 8 Stands Lost | 14 Stands Lost |
| 32 Stands | Reinforced Division Wing (6–7 Regts) | 10 Stands Lost | 16 Stands Lost |
3.0 Rallying, Re-forming & Regimental Recovery
- [RULE-07-3.1] The Disorder Marker & Tactical Penalties: Disorder represents disrupted battle lines, smoke blindness, ducking under heavy fire, and temporary command confusion. When a regiment becomes Disordered, its rigid formation breaks down into a chaotic mob.
- Tactical Penalties: Because officers have lost control in the smoke, a Disordered unit cannot execute an Advance, Double-Time, or Assault order. It may only Hold Position, fire at reduced effectiveness, Fall Back, or wait to Rally. Removing Disorder is essential for restoring a unit's offensive fighting power.
- [RULE-07-3.2] Rallying via Staff Pips (Command Rally):
- During Phase 1: Staff & Command Phase or Phase 5: Status & Clean-up, a player may spend unspent Staff Pips from the parent Brigadier .
- Cost & Effect: Spending 1 Staff Pip immediately removes 1 Disorder Marker from any regiment within the 12.0" Command Radius (Bugle or Courier range). A Brigadier may also rally a unit that is Out of Command (>12.0") by spending 2 Staff Pips. No dice roll is required. Staff officers and couriers are assumed to physically ride to the line to dress ranks and restore order.
- [RULE-07-3.3] Natural Regimental Rally (Phase 5):
- During Phase 5: Clean-up , any Disordered regiment that did not receive a Staff Pip rally may attempt a Natural Rally Check, provided it meets the following conditions:
- It is not in physical base contact with an enemy unit.
- It did not move, declare an assault, or fire musketry during the current turn.
-
It did not sustain casualties from enemy shooting during the current turn.
-
The Check: Roll 1D6 against Troop Quality:
- Veteran / Elite: Rallies on 3+.
- Regular: Rallies on 4+.
- Green / Conscript: Rallies on 5+.
-
Result: If passed, remove the Disorder Marker. If failed, the unit remains Disordered.
- A unit may never possess more than one Disorder Marker at any given time.
- If a unit is already Disordered and an event (such as failing a terrain friction check, failing a discipline check, or losing a melee) dictates that it receives a second Disorder Marker, the unit instead immediately suffers 1 Micro-Hit. This Micro-Hit carries over and contributes to future stand losses.
-
This mechanic simulates the attritional exhaustion of a unit being constantly pushed beyond its breaking point, without instantly erasing it from the battlefield.
- If an unengaged, stationary regiment spends two consecutive full game turns out of enemy line of sight and beyond 12.0" of the nearest hostile unit without firing or moving, it may remove its micro-damage hit counter, effectively absorbing minor stragglers back into the formation. (Physical stands removed are never recovered during a single battle).
4.0 Leaders, Headquarters & Officer Casualties
- [RULE-07-4.1] Leadership Command Functions:
- Brigade Commander (Brigadier): Commands 3-6 regiments plus attached artillery. Generates 1-4 Staff Pips each turn and maintains a 12.0" Command Radius .
- Division / Corps Commander: Operates on a 1.5" x 1.5" base. Has an 18.0-inch Command Radius. Once per turn, a Division Commander may grant +1 Bonus Staff Pip to any subordinate Brigadier within radius.
- [RULE-07-4.2] Attaching Leaders to Regiments:
- A Brigadier may physically attach to an infantry or cavalry regiment by moving into base contact with its center Color Stand .
- Combat Benefits:
- Grants +1 to the Opposed Melee Roll in assault/defense .
- Grants +1 to all Discipline Checks rolled by that regiment.
- Allows a unit in a Spent health state to declare assaults .
-
[RULE-07-4.3] The Leader Casualty Risk Trigger: Whenever a Brigadier is physically attached to a regiment that:
-
Sustains 1 or more physical stand losses from ranged fire or melee; OR
- Is targeted by ranged fire where the attacker rolls a natural 6 to-hit;
The owning player must immediately roll a Leader Casualty Check on 1D6.
Master Leader Casualty Table
| 1D6 Roll | Casualty Result | Tactical & Command Consequences |
|---|---|---|
| 1 – 3 | Unhurt / Close Call | Bullet passes through uniform or strikes horse. No effect; commander continues leading. |
| 4 | Lightly Wounded | General is hit but refuses to leave the field. Generates -1 Staff Pip on all subsequent turns. |
| 5 | Severely Wounded / Captured | General falls from saddle and is carried off. Stand is removed from play. The senior Colonel takes command: on the next turn, generate pips using the Timid / Political formula (1D3 / 2) . |
| 6 | Killed in Action (KIA) | General is killed instantly. The attached regiment immediately receives an automatic Disorder Marker. The brigade loses all remaining Staff Pips for the current turn. On the next turn, a replacement Colonel assumes command with a permanent Timid profile. |
- [RULE-07-4.5] Targeting Solitary Command Stands: A solitary Brigadier stand cannot be targeted by direct small arms fire or artillery unless it is the closest visible enemy unit within 6.0" of the shooter. If caught in open ground by an enemy charge without an attached friendly regiment, the command stand must immediately execute a 6.0" evasion move or be captured.
Step-by-Step Scenario Analysis
-
The Casualties Accumulate: Across Turns 2 and 3, the 2nd Brigade (Army of the Potomac) sustains heavy Confederate artillery fire and repulses an assault. The brigade loses:
-
143rd Pennsylvania: 2 stands lost.
- 149th Pennsylvania: 2 stands lost.
- 150th Pennsylvania: 1 stand lost.
-
121st Pennsylvania: 1 stand lost.
-
Phase 1: Morale & Status Assessment :
-
Total Starting Stands: 20 stands.
- Cumulative Stands Lost: 6 stands (30% attrition).
- The Faltering Threshold Triggered: Brigadier Potts reaches the 6-stand loss limit. He places a Hesitant Marker on his command base.
-
Tactical Consequences for the Brigade:
-
On Turn 4, Brigadier Potts rolls 2 Staff Pips. He wants to order the 150th Pennsylvania to counter-attack an exposed Confederate battery.
- Order Denied: Because the brigade is Hesitant, it cannot declare Assaults/Charges . The 150th PA cannot charge.
- The brigade attempts to fire musketry in Phase 3. All regiments suffer a -1 to-hit penalty on their shooting dice due to thinning ranks and demoralization.
- The Danger of Total Collapse:
If the brigade loses 4 more stands (reaching 10 stands lost / 50%), the entire brigade will become Broken and must begin a mandatory retreat off the battlefield.
Step-by-Step Resolution Walkthrough
-
The Desperate Charge ( / ):
-
The 33rd Virginia is reduced to 2 stands (Spent health state, -1 to melee). Normally, a Spent unit is forbidden from declaring an assault.
-
However, Brigadier Garnett personally attaches to the regiment's Color Stand. His presence authorizes the spent regiment to declare a charge. Garnett spends 1 Staff Pip.
-
The Approach & Canister Blast :
-
At the 4.0" mark, the Union battery delivers a Closing Canister Volley (2D6, hitting on 2+).
- The Union player rolls:
[2, 6]. Result: 2 hits scored (including one natural 6). -
The 33rd Virginia is in the open (no save). 2 hits = 1 stand removed! The regiment is down to its final stand (Color Stand). The natural 6 inflicts a Disorder Marker.
-
The Leader Casualty Check :
-
Because the attached regiment suffered a stand loss and a natural 6, Brigadier Garnett must immediately roll on the Leader Casualty Table .
-
The Confederate player rolls 1D6: Roll is a
5— Severely Wounded! -
Command Aftermath :
-
General Garnett is shot from his horse and carried off the field; his stand is removed from play.
- Without the general present, the 33rd Virginia is reduced to 1 stand remaining . The regiment immediately shatters, collapses, and its final stand is removed from the table.
- The brigade loses 2 stands total toward its Faltering Clock, and on the next turn, a replacement Colonel assumes command with a Timid rating.
6.0 Designer Notes & Historical Commentary
The Anatomy of Brigade Morale & Command Risk
In 19th-century linear combat, the breaking point of an army was almost never determined by physical extermination. Civil War soldiers were volunteers with strong community ties; regiments from the same county or state stood side by side in the brigade line.
When a brigade took 30% casualties, the psychological weight was catastrophic: company captains were dead, color guards had been shot down multiple times, cartridge boxes were empty, and the wounded crying for water filled the rear lines. At this stage, a brigade became Hesitant—it could still defend a fence line with sullen obstinacy, but it could no longer summon the offensive momentum to charge across an open field.
At 50% casualties, the brigade ceased to exist as an organized combat formation. The line disintegrated into clusters of retreating men seeking the safety of the division reserve.
The Brigade Faltering Clock captures this historical dynamic with complete mechanical elegance: * Zero Table Clutter: One D6 on the Brigadier's base tracks the fate of 4-5 regiments. * Collective Responsibility: A player cannot sacrifice two "throwaway" regiments on a hopeless assault without dooming their entire brigade to a Hesitant state. * The Heroic Dilemma: Attaching your Brigadier to an assault gives you the crucial +1 Melee bonus and rallies spent units, but as happened to Albert Sidney Johnston at Shiloh and John Reynolds at Gettysburg, leading from the front carries a high risk of being carried off the field in a blanket.